WSL
Starting with Windows 10 version 2004 and higher, to install WSL, you need to open the console with administrator privileges and enter the command:
wsl --install
This command allows you to enable the necessary components, download the latest Linux kernel, install WSL 2 as the default component and install the Linux distribution.
The above command only works if WSL is not installed at all. If you running "wsl --install" and see the WSL help text, try this "wsl --list --online", to see a list of available distributions. Then run "wsl --install -d
Docker Desktop
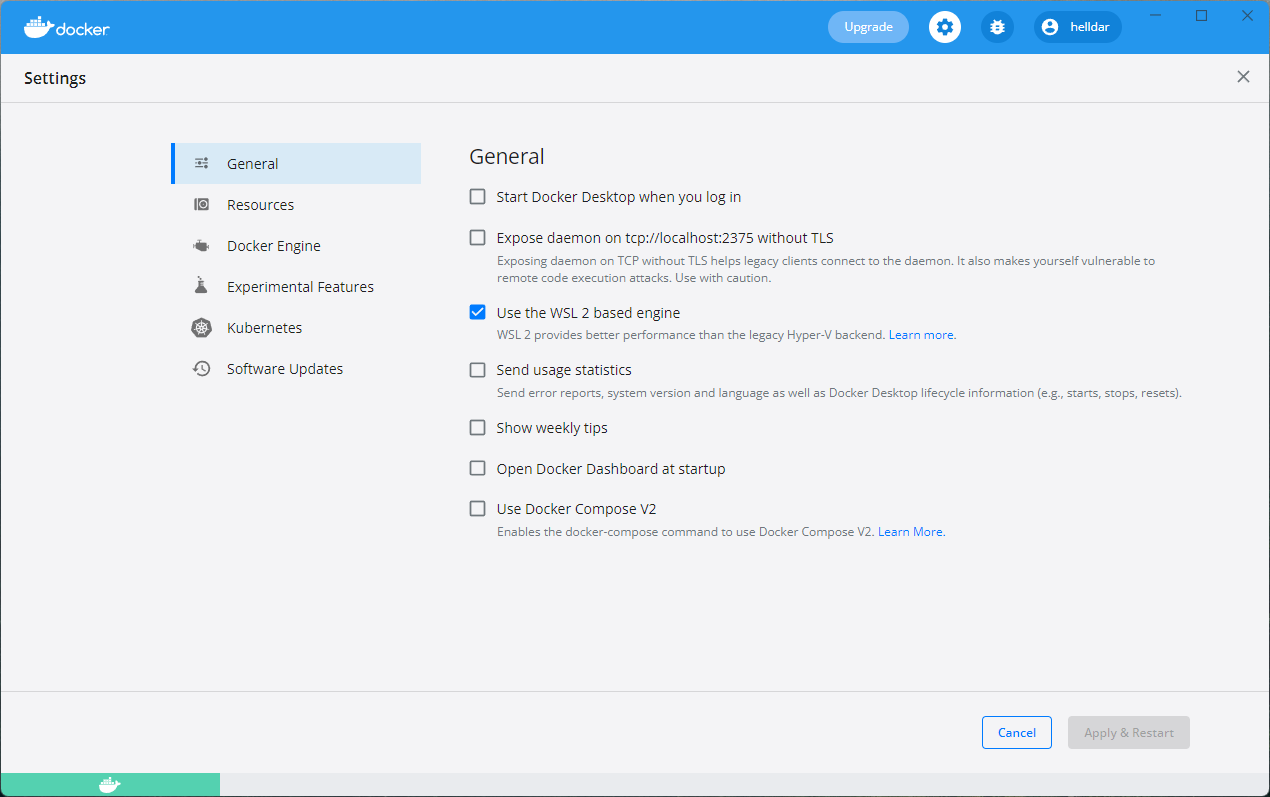
If the system does not have Docker Desktop, install it. It's simple: "next, next, next, done". If you didn't enable WSL 2 components during installation, that's okay, you can do it later. After starting Docker, go into its settings and on the General tab activate Use the WSL 2 based engine:
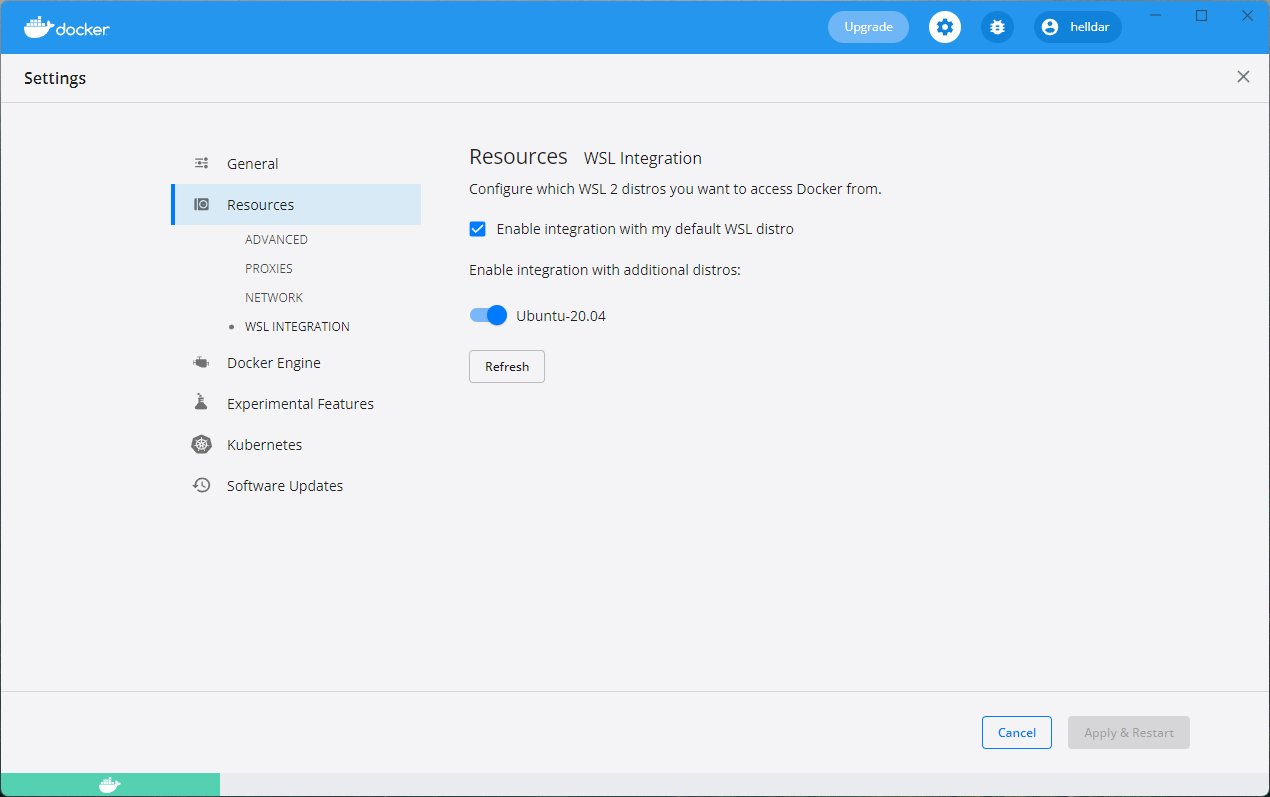
Then go to Resources > WSL Integration and activate the previously added distribution:
Laravel Sail
Laravel Sail can be used in a new project as well as in an existing one. Laravel Sail works with PHP version 7.4 and higher. We will use a fresh project using installer that will install Laravel 9 with the Sail dependency:
laravel new blog
Since all commands have to start with vendor/bin/sail, let's specify an alias for simplicity. To do this we add a line to the file %USERPROFILE%.bash_profile:
alias sail='vendor/bin/sail'
Restart the console, go to the folder with the created project and initialize the Sail configuration:
php artisan sail:install
Use commas to specify the services needed for the application. For example, 0.3 will install mysql and redis:
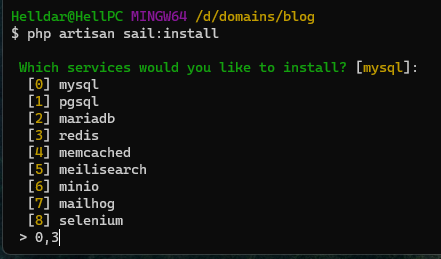
And press enter. This command creates a docker-compose.yml file in the root of the project and writes the redis and mysql configs in the .env file. If you want to run several projects at the same time, you can specify the APP_PORT key with the port number in the .env file. For example, with APP_PORT=1234 the application will be available at http://127.0.0.1:1234. Now we can move on to launching and here we have two options:
sail up
sail up -d
The first option, sail up will start the containers in "live" mode, i.e. when the console is closed, the connection will also be closed, while sail up -d will start them in the background and the containers will run until a sail down command is sent or the docker itself is unloaded.
It is not possible to run Sail in Windows simply because it uses Linux components. That is why a distribution such as Ubuntu was installed during the WSL installation phase.

First, you must enter the WSL subsystem by running the command:
wsl
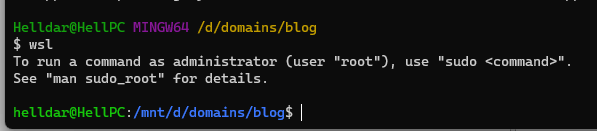
It is also worth noting that we set the alias sail in Windows and it does not apply to the subsystem, so let's set it to the subsystem as well. To do this, run the command nano ~/.bashrc and add lines to the end of the file:
alias sail='[ -f sail ] && bash sail || bash vendor/bin/sail'
alias sart='[ -f sail ] && bash sail artisan || bash vendor/bin/sail artisan'
To apply the changes, exit the subsystem and log in again:
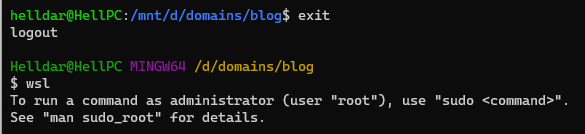
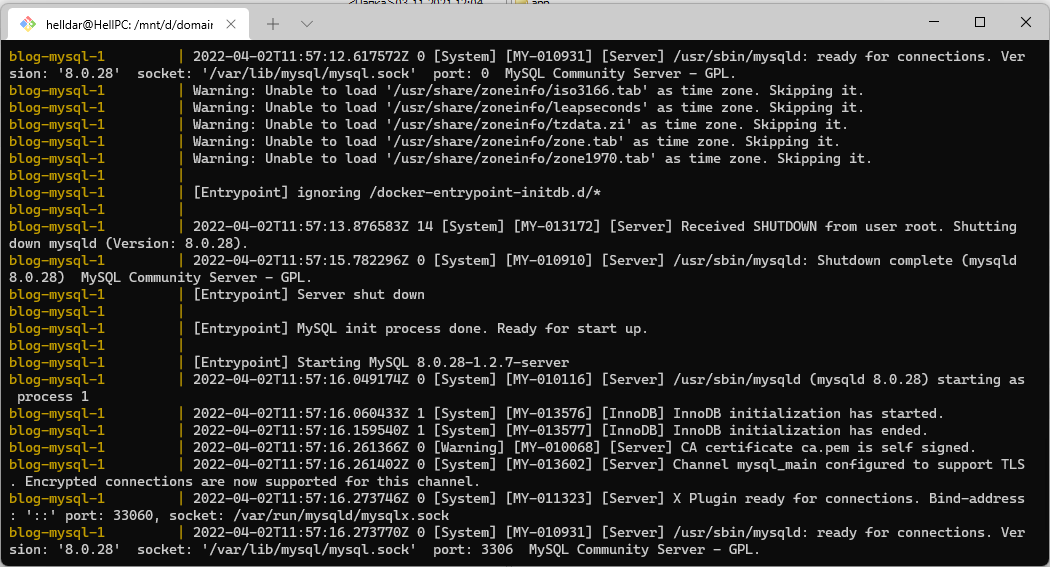
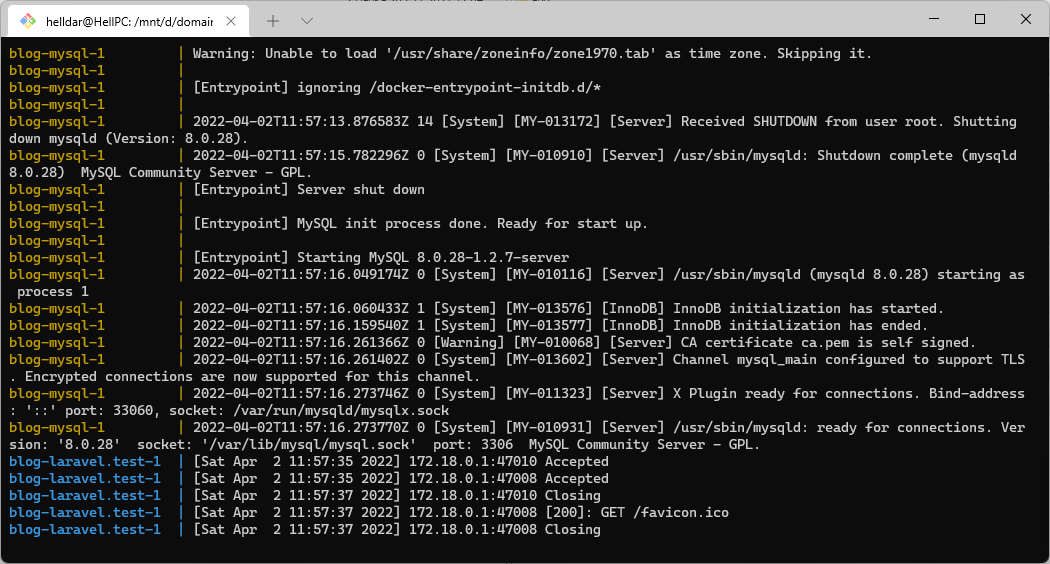
Start the containers with the sail up command and wait for the compilation to complete:
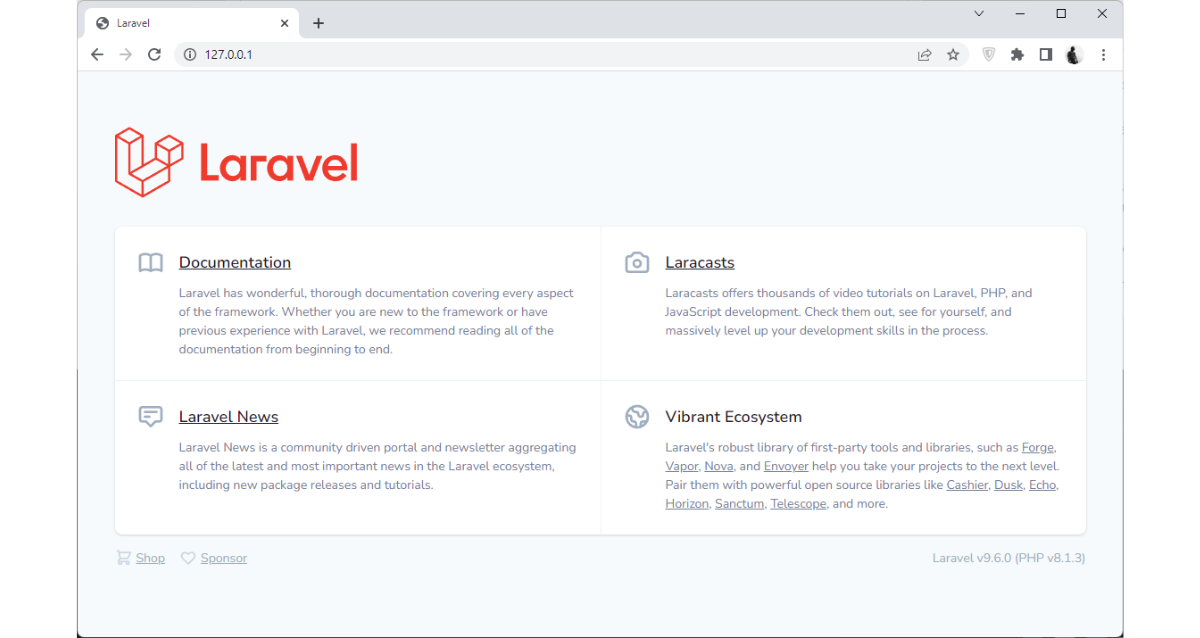
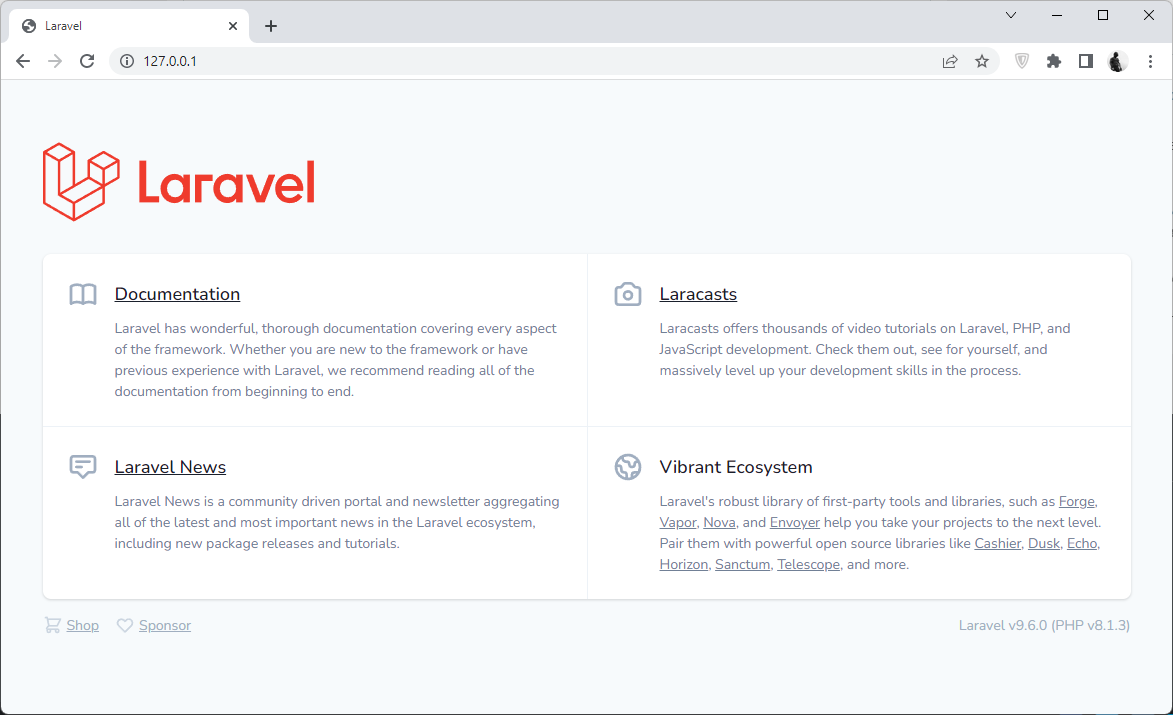
Go to http://127.0.0.1 and see our application.
The console will also show the request logging. Of course, if the launch was done with the sail up command.
To call different artisan commands in the container, you can use the alias sart. For example:
sart queue:work
That's it. Good luck with development 👋